
Help Center
Integration Setup
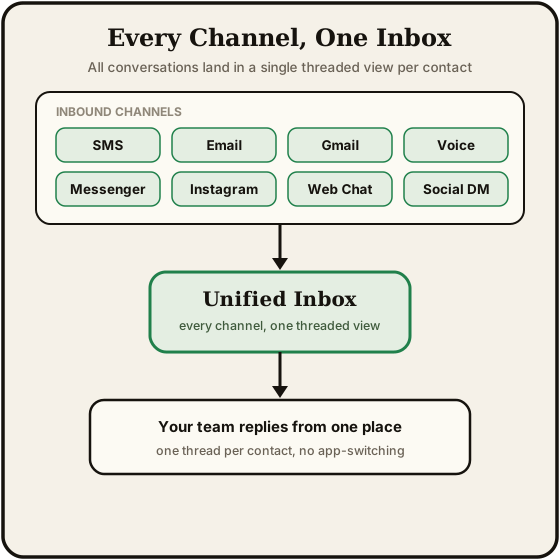
Connect SMS, email, Gmail, Facebook Messenger, Instagram, and other channels to your workspace.
Last updated
Seedly CRM connects to your communication channels so you can manage all client interactions in one place. This page covers how to set up each integration.
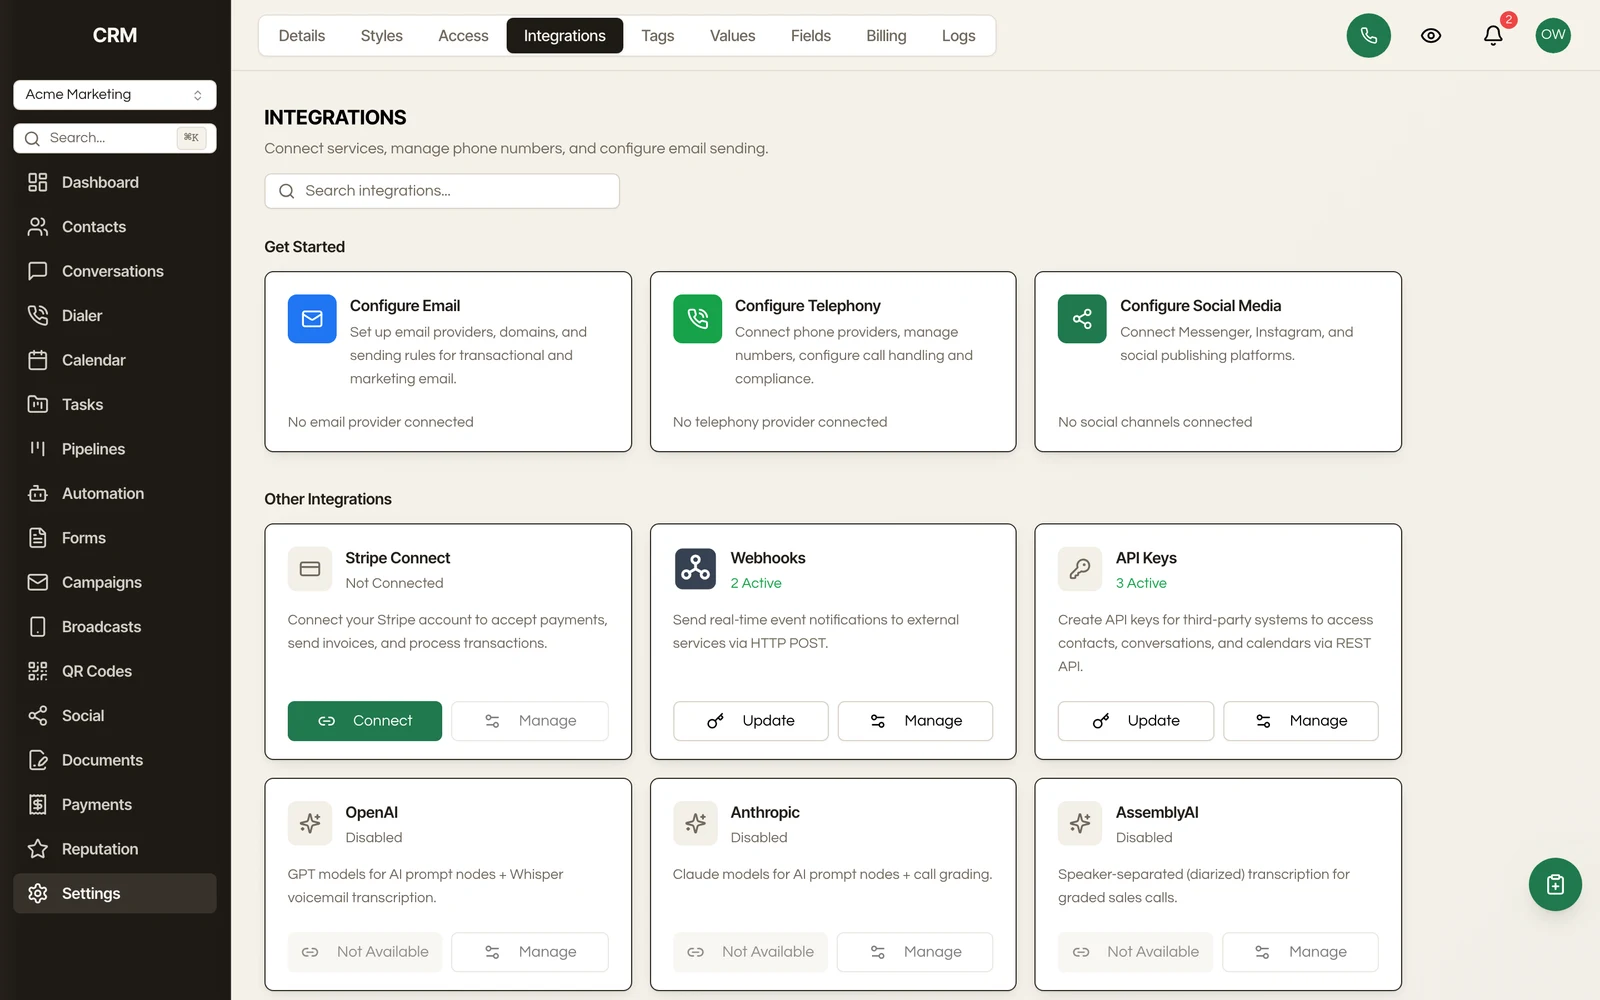
All integrations are configured in Settings → Integrations.
Overview#
The integrations page is organized into sections:
| Section | What It Covers |
|---|---|
| Connections | All available integrations displayed as cards - connect, manage, and check status |
| Email domain verification and sending rules | |
| Phone & Voice | Phone numbers, call recording, voicemail, and compliance |
| Social Accounts | Social media publishing |
| Webhooks | Outbound webhook subscriptions for external systems |
Each integration card shows its current status - connected, not connected, or how many accounts are linked.
Gmail#
Connect your Gmail account to pull emails into the unified inbox and send emails from within Seedly CRM.
Gmail sync is one-way into the CRM. Emails from your Gmail inbox are copied into Seedly CRM so you can view and reply from one place. Actions you take inside the CRM (archiving, deleting, or marking a conversation as read) only affect the CRM - they do not modify your Gmail account. Your Gmail inbox remains untouched.
Connecting#
- On the Connections tab, find the Gmail card
- Click Connect
- You are redirected to Google's sign-in page
- Sign in and grant the requested permissions
- You are returned to Seedly CRM with a confirmation message
After Connecting#
- Incoming emails are automatically pulled into the CRM and matched to existing contacts (or a new contact is created from the sender's email address and display name)
- Outgoing emails you send from the CRM through your Gmail connection are delivered via Gmail and also recorded in the conversation timeline
- You can connect multiple Gmail accounts
- To manage connections, click Manage on the Gmail card to see connected accounts, sync status, and options to disconnect or trigger a manual sync
What Sync Does Not Do#
- Deleting or archiving a conversation in the CRM does not delete it from Gmail
- Marking a conversation as read in the CRM does not mark it as read in Gmail
- Labels, folders, and stars in Gmail are not synced to the CRM
Connecting Google does not switch inbox sync on. Email sync starts turned off and you enable it yourself, with a confirmation that explains your mail will begin appearing as conversations. Connecting Google purely for calendar conflict checking will not pull your inbox in as a side effect.
Outlook#
Connect Outlook for calendar booking, at parity with Google Calendar.
Connecting#
- On the Connections tab, find the Outlook card
- Click Connect
- Sign in with Microsoft and grant the requested permissions
- You are returned to Seedly CRM with a confirmation message
Per-User Connections#
Each team member connects their own Outlook account. Booking sync then runs against that person's calendar, so a round-robin or collective calendar checks the real availability of every member rather than only whoever set the integration up.
Rescheduling a booking keeps the real meeting link rather than replacing it with a new one, so an invite already sitting in someone's calendar stays valid.
An agency-level user can reset a client's Outlook connection from the agency side when it needs re-authorizing and the client cannot do it themselves.
Connection Health#
Connections do not fail silently. When a connection stops working, because a password changed, a token expired, or an admin revoked access, the card shows that it needs reconnecting rather than continuing to look healthy while quietly doing nothing.
This applies to Google, Outlook, Zoom, and Facebook or Instagram pages. If a Facebook or Instagram page token dies, that connection is flagged for re-authorization instead of dropping inbound messages without a word.
One Google Business Profile problem is not fixed by reconnecting. If a review sync could not save anything because the location's reviews are already stored under another sub-account, the Google Business card shows Reviews not importing with an explanation and no Reconnect button. In the sub-account that holds the reviews, untick the location, then delete its synced reviews; the other sub-account imports them on its next sync.
Check the Connections tab first whenever a channel goes quiet unexpectedly.
Facebook Messenger and Instagram#
Connect your Facebook Pages and Instagram accounts to receive and respond to messages in the unified inbox.
Connecting#
- On the Connections tab, find the Facebook Messenger or Instagram card
- Click Connect
- You are redirected to Meta's authorization page
- Sign in with your Facebook account
- Select which Pages and Instagram accounts to connect
- You are returned to Seedly CRM with a confirmation showing how many accounts were linked
After Connecting#
- Incoming messages from Messenger and Instagram DMs appear in the conversation inbox automatically
- Reply directly from the inbox - responses are sent back through the original channel
- To manage connections, click Manage to see connected pages and accounts, or to disconnect
Phone Numbers (SMS and Voice)#
Purchase phone numbers directly from within Seedly CRM to send and receive SMS messages and voice calls.
Buying a Number#
- Go to the Phone & Voice section in integrations
- Click Buy Number
- Choose the provider, country, and type (local or toll-free)
- Optionally filter by area code, region, or specific digits
- Click Search to see available numbers with their capabilities (SMS, MMS, voice)
- Click a number to purchase it
Managing Numbers#
Each phone number appears as a card showing:
- The number and its status (active or inactive)
- Capabilities - SMS, MMS, and voice badges
- Location information
Click a number to open its settings, where you can:
- Set the usage type (SMS, voice, or both)
- Enable or disable call recording
- Release the number if it is no longer needed
SMS Compliance#
If you are sending SMS in the United States, you may need to complete A2P 10DLC registration. A guided wizard walks you through the registration process - you provide your business information, use case details, and sample message content for review.
Email Domains#
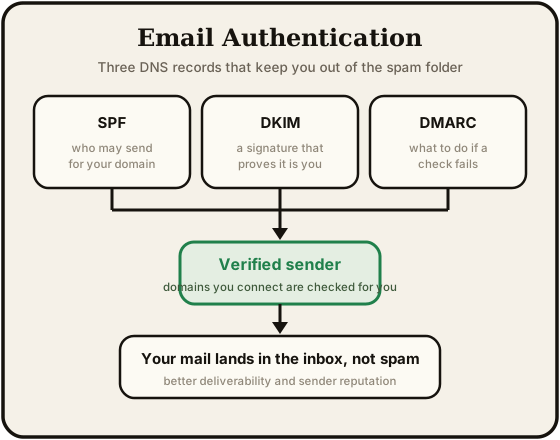
To send emails from your own domain (instead of a shared sender), add and verify your domain.
Adding a Domain#
- Go to the Email section in integrations
- Click Add Domain
- Select your email provider
- Enter your domain name
- The system generates DNS records you need to add to your domain registrar
Verifying#
After adding the DNS records at your registrar:
- Return to the domain settings
- Click Verify to check the records
- Each record shows a checkmark when verified
- Full verification may take a few minutes to propagate
Sending Rules#
Once your domain is verified, configure which domain to use for each type of email:
| Email Type | Examples |
|---|---|
| 1:1 Email | Replies and messages from the inbox |
| Bulk Email | Campaigns and newsletters |
| Calendar | Appointment confirmations and reminders |
| Payments | Invoices and receipts |
| Workflows | Automated email actions |
You can assign the same domain to all types or use different domains for different purposes.
Marketing email sends on your marketing sender and stream, kept separate from transactional mail, and bulk sends carry the commercial-email footer the law requires. Keeping the two apart protects the deliverability of the mail that has to arrive: a receipt or a booking confirmation is not held back by a marketing opt-out.
Archiving a Domain#
Archiving a sending domain takes it out of the sending rules without deleting it. If you archive one by mistake, or need it back later, you can restore it rather than re-adding and re-verifying the DNS records from scratch.
Provider Credentials#
Some integrations require API credentials from external providers. For each provider:
- Find the provider card on the Connections tab
- Click Connect
- Enter the required credentials (these vary by provider)
- Optionally click Test Connection to verify your credentials work before saving
- Click Save
Your credentials are encrypted and stored securely. They can be updated at any time by clicking Manage on the provider card.
If your agency has already configured provider credentials at the agency or brand level, those are automatically available to your sub-account - you may not need to enter your own.
Stripe (Payments)#
Connect Stripe to accept online payments through invoices and booking pages.
- Find the Stripe card on the Connections tab
- Click Connect
- Complete the Stripe onboarding flow
- Once connected, the card shows your account status
After connecting, invoices you create can include a payment link that lets clients pay online.
Webhooks#
Send real-time event notifications to external systems whenever something happens in your sub-account.
Creating a Webhook#
- Go to the Webhooks section in integrations
- Click Add Webhook
- Enter the URL where events should be sent
- Select which events to subscribe to (grouped by category - contacts, conversations, workflows, etc.)
- Click Create
A signing secret is generated for your webhook. Use it to verify that incoming requests to your endpoint are genuine.
Monitoring#
The Event Log tab shows recent webhook deliveries with status, timestamps, and response codes. Use this to troubleshoot failed deliveries.
CloseBot (AI Auto-Reply)#
Connect CloseBot to have an AI bot answer inbound messages and book appointments for you. Unlike the integrations above, this one is not configured under Settings → Integrations - it lives at Automation → Live Chat, in the AI Auto-Reply (CloseBot) section, alongside the rest of the auto-reply behavior.
One-Click Setup#
- Go to Automation → Live Chat and open AI Auto-Reply (CloseBot)
- Paste your CloseBot agency API key and click Check key - the CRM confirms the key works and lists the bots on that CloseBot account
- Choose how to connect:
- Create the assistant for me (the default) - the CRM builds a fresh assistant from its starter template in your CloseBot account, publishes it, and fills it in with your sub-account's business details
- Use an existing bot - enter the bot's ID. Any bot in the connected CloseBot account works, even one not listed (for example, one you just imported); the bots found when the key was checked are shown beside the field as a copy-paste aid
- Optionally add Trigger Tags - the bot then only answers contacts carrying at least one matching tag; leave blank to answer everyone
- Click Connect CloseBot
The CRM does the wiring for you: it creates the CloseBot Source (named "CRM - " followed by your sub-account's name, so an agency running many connections can tell them apart at a glance), configures both webhooks, attaches the bot, and fills the bot's tool variables - the API address and key its tools use to reach your CRM. Before finishing, it reads the configuration back from CloseBot to verify its own work, then sends a test event to confirm the whole path answers.
Your agency API key is used for that one setup and never stored.
After Connecting#
- Every channel is allowed by default. One-click setup has no channel checklist; if you want the bot on fewer channels, narrow them later in the Advanced Connection form.
- Forwarding starts switched off. A fresh connection always lands with the forwarding toggle off, so nothing reaches the bot until you have verified the connection and flipped Forward inbound replies to Closebot on.
- Test any time. The Test connection button sends another probe event without re-running setup.
The Key the Bot Replies With#
Setup creates a CRM API key just for this connection, and it is deliberately narrow: the bot can read and update contacts, send replies, and use the booking endpoints - checking availability, listing service types, and booking or managing the caller's own appointments. It cannot read your full appointment roster or touch anyone else's appointments.
Contact updates are how the assistant saves what it learns in a conversation - a corrected phone number, a custom field, the customer's timezone. Be aware that the permission behind updates also allows creating and deleting contacts, because API permissions are not per-endpoint. If you connected CloseBot before v5.8.7, the key from that earlier setup does not carry this permission yet - the v5.8.7 release notes (in the changelog inside your download, and on the changelog page) include the one command that grants it.
The CRM also protects that key from accidents. It appears on the API Keys page like any other key, but revoking it, deleting it, or changing its permissions there is refused with a message pointing you back to AI Auto-Reply - the bot replies with that key, so removing it would silently break the connection. Renaming it is fine. To remove the key properly, use Disconnect in the AI Auto-Reply section: disconnecting deletes the connection and revokes the key in the same step. (The Source in your CloseBot account is not touched - delete it there yourself if you no longer need it.)
If Setup Fails#
Setup fails loudly rather than leaving a half-wired connection. Nothing is saved on the CRM side unless the whole flow succeeds, and the failure message names exactly what was created in CloseBot - for example, a Source that ended up unused - so you can remove it there before retrying.
Manual Setup (Advanced)#
The hand-wiring form still exists for anyone who wants to configure the connection themselves. It lives in a collapsed Advanced Connection section below the one-click flow (open by default for accounts that originally configured CloseBot by hand), and it is also where you narrow the enabled channels after a one-click setup.
Summary#
| Integration | Connection Method | What It Enables |
|---|---|---|
| Gmail | Google sign-in (OAuth) | Email sync, send from inbox |
| Facebook Messenger | Meta authorization (OAuth) | Messenger inbox, reply from CRM |
| Meta authorization (OAuth) | Instagram DM inbox, reply from CRM | |
| Phone Numbers | Purchase within CRM | SMS and voice calls |
| Email Domains | DNS verification | Send from your own domain |
| Stripe | Stripe onboarding | Online invoice payments |
| Webhooks | URL + event selection | Real-time event notifications |
| CloseBot | One-click setup (agency API key) | AI auto-replies and booking across your channels |