
Help Center
Forms
Build lead capture forms with drag-and-drop, embed them on your site, and track submissions.
Last updated
The Forms module lets you create lead capture and data collection forms with a drag-and-drop builder. Forms can be shared via a public link or embedded on your website. When someone submits a form, a contact is created or updated automatically.
Forms List#
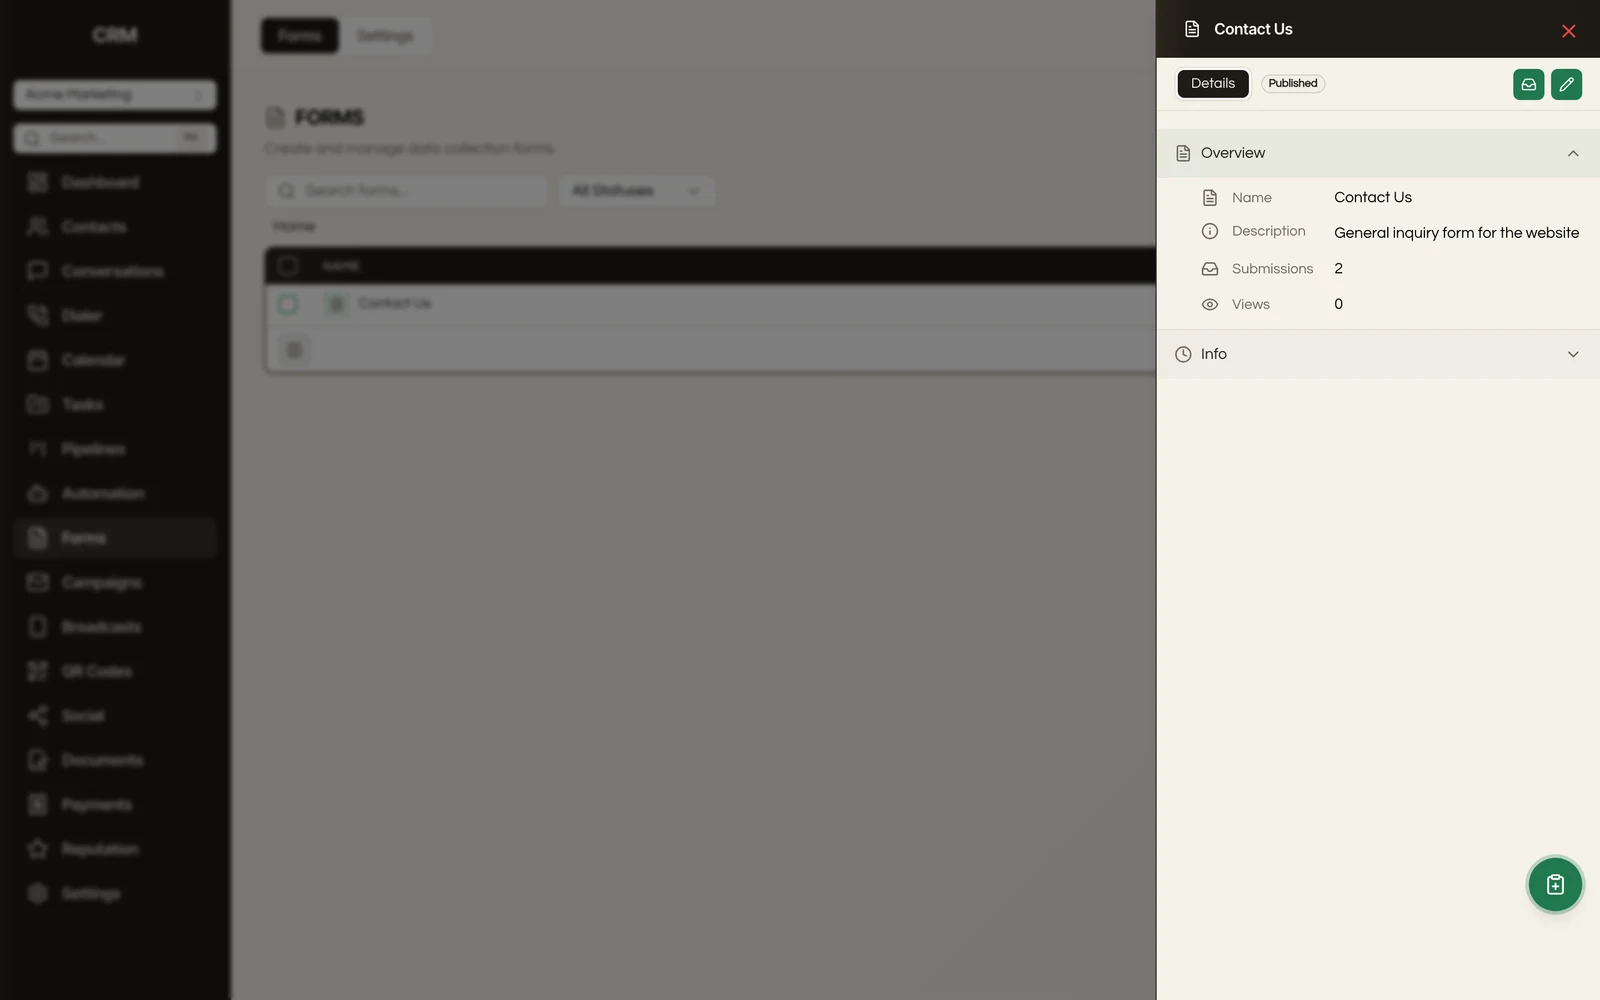
The forms page shows all your forms with their name, status (draft, published, or archived), submission count, and creation date. Forms can be organized into folders.
Creating a Form#
- Click Create Form
- Enter a form name
- You are taken to the form builder
The Form Builder#
The builder uses drag-and-drop to compose your form.
Available Field Types#
| Field Type | Description |
|---|---|
| Text | Single-line text input |
| Long text | Multi-line textarea |
| Email address with format validation | |
| Phone | Phone number input |
| Number | Numeric input |
| Dropdown | Single-select from a list of options |
| Multi-select | Choose multiple options |
| Radio | Single-select displayed as radio buttons |
| Checkbox | Yes/no toggle or multiple checkboxes |
| Date | Date picker |
| File upload | File attachment |
| Hidden | Hidden field with a preset value (not visible to the person filling out the form) |
Configuring Fields#
Click any field to configure it:
- Label - The field name shown to the user
- Placeholder - Hint text inside the input
- Required - Whether the field must be filled out
- Help text - Optional description shown below the field
- Options - For dropdowns, radio buttons, and multi-select: the list of choices
- Default value - Pre-filled value
Reordering#
Drag fields up or down to change their order.
Conditional Logic#
Show or hide fields based on another field's value. For example, show a "Company size" dropdown only when the "Type" field is set to "Business."
Setting Up Conditions#
- Click a field in the builder
- Open the Conditions section
- Define the rule: "Show this field when [other field] [operator] [value]"
- The field is hidden by default and appears only when the condition is met
Contact Mapping#
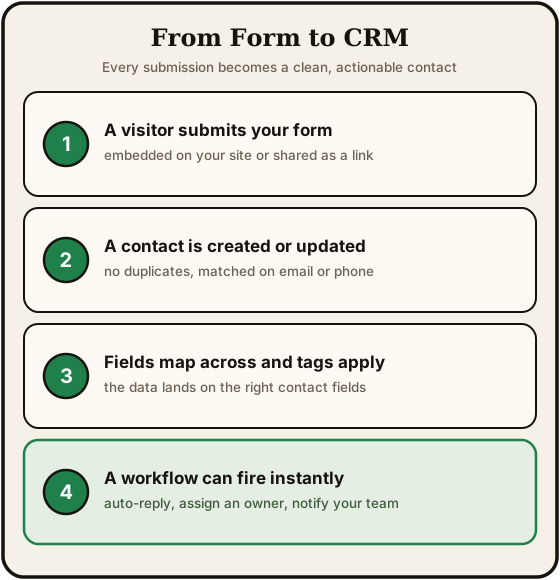
Each form field can be mapped to a contact field so that submissions automatically create or update contact records.
How It Works#
- Email field → Matched to the contact's email address (used to find existing contacts)
- First name, last name, phone, company → Mapped to standard contact fields
- Custom fields → Mapped to any custom field you have defined in settings
When a submission comes in:
- If a contact with the submitted email already exists, their record is updated
- If no match is found, a new contact is created
- The submission is logged in the contact's activity timeline
Form Settings#
Confirmation#
Choose what happens after someone submits the form:
- Message - Show a thank-you message on the same page
- Redirect - Send the user to a URL of your choice
Notifications#
Configure who gets notified when a form is submitted:
- Email notifications to specific team members
- In-app notifications
The notification email names the person who submitted the form, and where the form produced a signed record it links straight to the signed copy, so you can read what was agreed without going to find it.
Consent#
A form can collect consent to be texted separately from consent to be emailed, and separately again for marketing messages versus transactional ones (a booking confirmation, a receipt, a reply to something they asked).
This separation is what mobile carriers expect to see when they review your texting registration, and it is worth getting right before you register rather than after. A person who declines the marketing box will not receive marketing messages on that channel, while transactional messages still reach them.
What each person agreed to, and when, is stored as a structured record on the contact rather than a bare checkbox, so you can produce the evidence later if a carrier or a regulator asks for it.
Status#
A form's status controls whether it accepts submissions:
| Status | Meaning |
|---|---|
| Draft | Not yet live - the public link and embed are not accessible |
| Published | Live and accepting submissions through its public link and embed |
| Archived | Retired - no longer accepting submissions |
Publishing and Sharing#
Public Link#
Every form has a unique public URL. Share this link directly with anyone - they can fill out the form without logging in.
Embed Code#
Two embed formats are offered from the form's share dialog. Both deliver submissions to the same place and count against the same submissions table; pick whichever matches how your site is built.
Iframe embed (recommended). A single <iframe> tag that adapts to your page layout. The form inside the iframe is served by Seedly, so styling, validation, CAPTCHA, and any Turnstile challenge all run under our domain. This is the safe default.
Plain HTML embed. Copies the form's raw HTML so it renders inline with your site's own CSS. Useful when a page's design absolutely can't tolerate an iframe (a print-style landing, a compact hero, a Webflow section). Two caveats worth knowing:
- No CAPTCHA / Turnstile challenge fires on a plain HTML embed. The challenge is served alongside our own domain, and a form rendered on your domain does not have access to it. If bot signups are a real risk on the page, use the iframe.
- Submissions do reach the CRM, and after a submission the plain HTML embed follows your form's Redirect URL setting the same way the iframe does. Prior to 5.7.0 the plain HTML embed silently dropped submissions and ignored the redirect - if you are using an embed placed before that update and receiving nothing, re-copy the embed code from the share dialog.
Styling#
The form inherits basic styling from your brand settings. The public form page displays your logo and brand colors.
Submissions#
Viewing Submissions#
The Submissions tab on each form shows all responses in a table. Each row is a submission with the values entered for each field, the submission date, and a link to the contact record that was created or updated.
Filtering#
Filter submissions by date range or search by content.
Exporting#
Export all submissions as a CSV file for analysis or import into other tools.
Multi-Step Forms#
Forms can be split into multiple pages (steps) for longer forms. Each page shows a subset of fields, with navigation buttons to move between pages. A progress indicator shows how far through the form the user is.
Summary#
| Feature | Detail |
|---|---|
| Builder | Drag-and-drop with 12+ field types |
| Conditional logic | Show/hide fields based on other field values |
| Contact mapping | Auto-create or update contacts on submission |
| Sharing | Public link, embeddable iframe, and plain HTML embed (iframe recommended for CAPTCHA support) |
| Confirmation | Thank-you message or redirect URL |
| Notifications | Email and in-app alerts on submission |
| Submissions | Table view with filtering and CSV export |
| Multi-step | Split long forms into pages with progress indicator |