Fork Workflow
Contributing to projects you don't own


Buzz presents
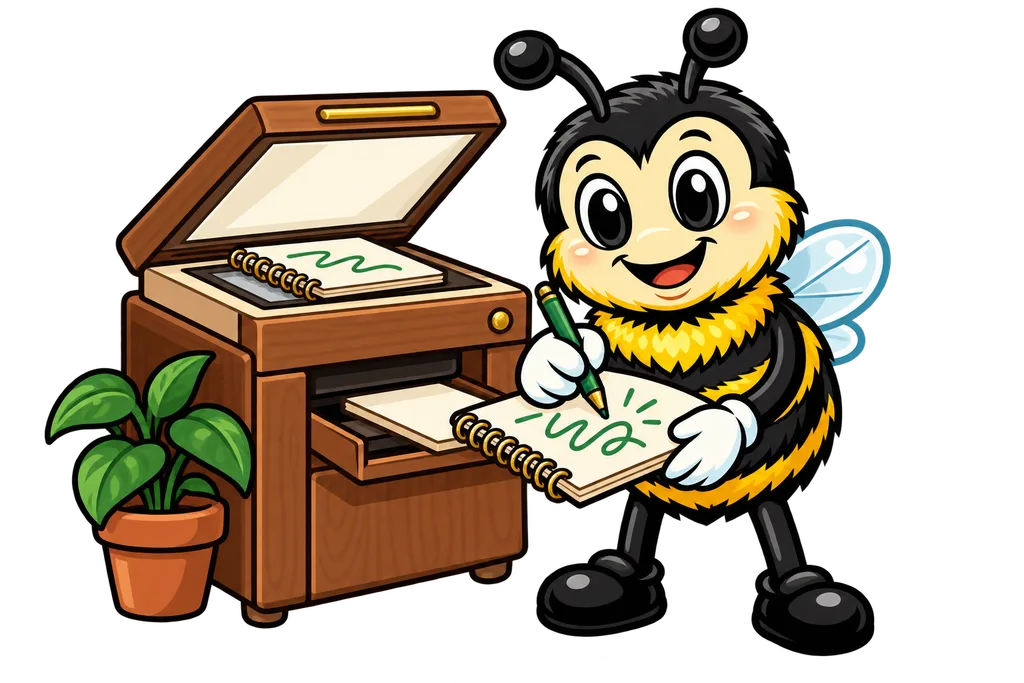
a fork is youre own copy of someone elses project, so you can help out even when its not yours. sooo nice!a fork is youre own copy of someone elses project, so you can help out even when its not yours. sooo nice!
What if you find a bug in somebody else's project and want to fix it? Or you've got a great idea for a feature in an open source tool? You can't just push changes to their repository, because you don't have permission.
That's where forking comes in. A fork is your own copy of someone else's project, and you can do whatever you want with it. Then, if you'd like your changes to land in the original project, you ask nicely with a pull request.
What is a Fork?#
A fork is a complete copy of a repository that lives in your own GitHub account. It stays connected to the original (called the "upstream" repository), but it's yours to change.
Picture it like this. You can't scribble in someone else's notebook, but you can photocopy it, write in your copy and then show them what you added. If they like it, they can add it to their original.
Building stuff with other people is honestly the best part of all this. Most of my free tools, like the A2P checker, the email and DNS deliverability checker and the Bulk Image Processor, got built alongside friends... and sharing work back and forth is exactly what this workflow is made for.
The Fork Workflow Steps#
The fork workflow follows a clear pattern. Let's walk it.
Step 1. Fork the Repository#
On GitHub, go to the project you want to help with. Click the "Fork" button in the top right corner.
GitHub makes a copy in your account. If the original was cooldev/awesome-project, your fork is yourusername/awesome-project.
Step 2. Clone Your Fork#
Clone your fork (NOT the original) to your computer.
git clone [email protected]:yourusername/awesome-project.gitThat gives you a local copy of your fork. We're using the SSH address you set up in the GitHub module, so pushing back to your fork just works.
Step 3. Add the Upstream Remote#
Hook up to the original repository so you can pull in its updates.
git remote add upstream https://github.com/cooldev/awesome-project.gitNow you've got two remotes.
origin- Your forkupstream- The original project
Step 4. Create a Branch#
Never work straight on main. Make a branch for your changes.
git checkout -b fix-typo-in-readmePick a clear name that says what you're doing.
Step 5. Make Your Changes#
Do the work. Fix that bug. Add that feature. Then commit.
git add .
git commit -m "Fix typo in README installation instructions"
Step 6. Push to Your Fork#
Push your branch up to your fork on GitHub.
git push origin fix-typo-in-readmeNotice we push to origin (your fork), not upstream (the original).
Step 7. Create a Pull Request#
Head to your fork on GitHub. You'll see a prompt to create a pull request. Click it!
Your pull request asks the original project to pull in your changes. The maintainers review it and decide whether to merge it.
Keeping Your Fork Updated#
The original project keeps moving while you work, so you'll want to sync your fork regularly to dodge conflicts.
Step 1. Fetch from Upstream#
Grab the latest changes from the original project.
git fetch upstreamStep 2. Merge into Your Main#
Switch to your main branch and merge.
git checkout main
git merge upstream/main
Step 3. Push to Your Fork#
Update your fork on GitHub.
git push origin mainA Complete Example#
Let's walk through a real scenario. You spotted a typo in the docs for a project called recipe-app.
Step 1. Fork on GitHub#
Go to github.com/chefmaster/recipe-app and click Fork. Now you've got yourusername/recipe-app.
Step 2. Clone Your Fork#
git clone [email protected]:yourusername/recipe-app.git
cd recipe-app
Step 3. Set Up Upstream#
git remote add upstream https://github.com/chefmaster/recipe-app.gitDouble-check your remotes.
git remote -vYou should see both origin and upstream in the list.
Step 4. Create a Branch#
git checkout -b docs/fix-installation-typoStep 5. Fix the Typo#
Open the README, fix the typo and save the file.
git add README.md
git commit -m "Fix typo: 'instalation' -> 'installation' in README"
Step 6. Push and Create PR#
git push origin docs/fix-installation-typoGo to GitHub, create the pull request and write a nice description of what you fixed.
Pull Request Tips#
When you open a pull request on someone else's project, keep these in mind.
- Read their guidelines - Lots of projects have a CONTRIBUTING.md file. Follow it.
- Keep changes small - One fix per pull request. Don't fix a typo and add a feature in the same PR.
- Write a good description - Explain what you changed and why.
- Be patient - Maintainers are often volunteers, so give them time.
- Be open to feedback - They might ask for changes, and that's totally normal.
Why Forking Matters#
The fork workflow is how most open source software gets built. Anybody can pitch in on any public project, and you don't need permission to get started. You fork, make your changes and ask if they want them.
This model has produced some seriously impressive software.
- Linux (the operating system running most of the internet)
- VS Code (Microsoft's code editor)
- React (the library powering countless websites)
- Python (the programming language)
Most of these take contributions through forks and pull requests on GitHub. Linux is the odd one out (the kernel takes patches over email instead of GitHub pull requests), but the idea of copy, change and propose is exactly the same.
Commands Reference#
Here are the key commands for the fork workflow.
| Command | What it does |
|---|---|
git clone url | Clone a repository to your computer |
git remote add upstream url | Add the original repo as upstream |
git remote -v | List all your remotes |
git fetch upstream | Get updates from original repo |
git merge upstream/main | Merge upstream changes into your branch |
git push origin branch | Push your changes to your fork |
TL;DR#
- A fork is your own copy of someone else's repository
- Fork on GitHub first, then clone your fork
- Set up
upstreamto stay connected to the original project - Always work on branches, never straight on main
- Push to
origin(your fork) and pull fromupstream(the original) - Keep your fork synced to avoid conflicts
- Be respectful and patient when you contribute to other people's projects
What's Next?#
Now you know how forking works, so let's go further into open source. Next lesson covers how to find good projects to contribute to and how to be a great community member...
This lesson ends with a short activity.