Event Handling
Learn how to respond to user interactions like clicks, typing, and form submissions in React


Sprout presents
Clicks, typing and form submissions, each with its own handler. We will also prevent default behavior, which sounds ominous but is quite routine.Clicks, typing and form submissions, each with its own handler. We will also prevent default behavior, which sounds ominous but is quite routine.
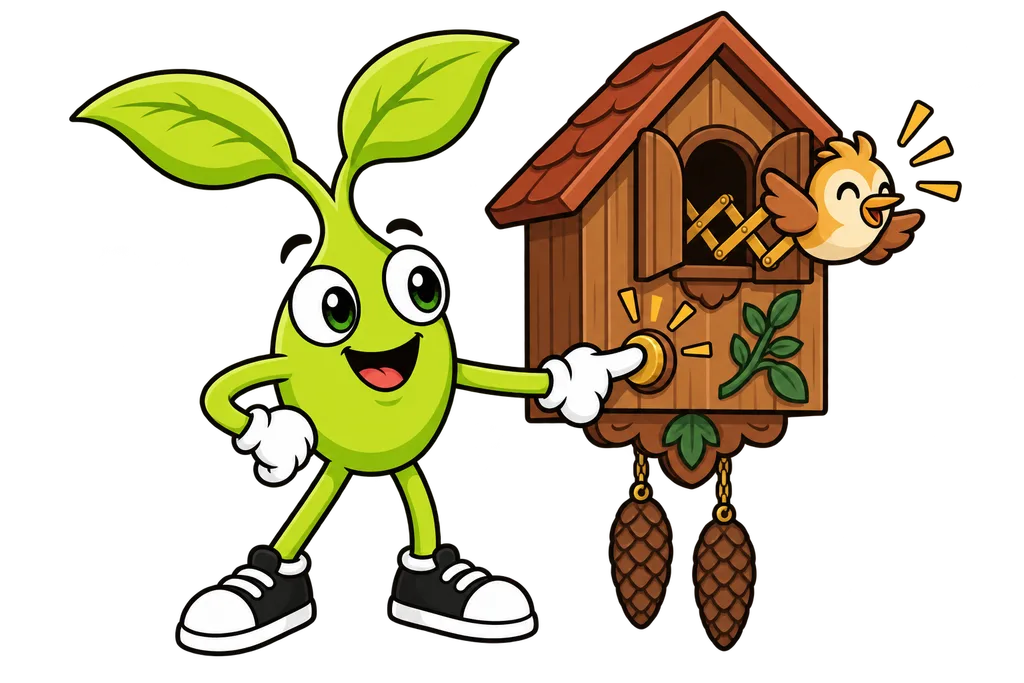
Every interactive app has to respond to what people do. They click buttons, type in fields, submit forms and hover over stuff. In React you handle all of that with event handlers, which are just functions that run when something happens.
Your First Event Handler#
In React you attach event handlers right onto JSX elements using camelCase props like onClick, onChange and onSubmit.
function AlertButton() {
  function handleClick() {
    alert('You clicked me!');
  }

  return <button onClick={handleClick}>Click me</button>;
}
Look closely here. You pass the function itself (handleClick), and you do NOT pass a function call (handleClick()). If you wrote onClick={handleClick()}, the function would fire the moment the component renders instead of waiting for somebody to click.
Inline Event Handlers#
For short handlers, you can write an arrow function right there in the JSX.
import { useState } from 'react';

function Counter() {
  const [count, setCount] = useState(0);

  return (
    <div>
      <p>Count: {count}</p>
      <button onClick={() => setCount(count + 1)}>Increment</button>
      <button onClick={() => setCount(count - 1)}>Decrement</button>
      <button onClick={() => setCount(0)}>Reset</button>
    </div>
  );
}
Inline handlers are great for simple one-liners. Once the logic gets longer, pull it out into a named function so future you can actually read it.
Common Event Types#
React supports all the standard browser events. These are the ones you'll use the most.
| Event | Triggers When | Common Uses |
|---|---|---|
onClick | User clicks an element | Buttons, links, cards |
onChange | Input value changes | Text inputs, checkboxes, selects |
onSubmit | Form is submitted | Form handling |
onKeyDown | Key is pressed | Keyboard shortcuts, Enter to submit |
onMouseEnter | Cursor enters an element | Tooltips, hover effects |
onMouseLeave | Cursor leaves an element | Hiding hover effects |
onFocus | Element gains focus | Showing helper text |
onBlur | Element loses focus | Validation on field exit |
The Event Object#
Every event handler gets handed an event object with the details of what just happened.
function KeyLogger() {
  function handleKeyDown(event) {
    console.log(`Key pressed: ${event.key}`);
    if (event.key === 'Enter') {
      console.log('User pressed Enter!');
    }
  }

  return <input onKeyDown={handleKeyDown} placeholder="Press any key..." />;
}
A few properties on the event object you'll reach for constantly.
event.target- the DOM element that triggered the eventevent.target.value- the current value of an inputevent.key- which keyboard key got pressedevent.preventDefault()- stops the browser's default action
Handling Text Input#
To keep track of what somebody types, pair onChange with state.
function SearchBox() {
  const [query, setQuery] = useState('');

  function handleChange(event) {
    setQuery(event.target.value);
  }

  return (
    <div>
      <input
        type="text"
        value={query}
        onChange={handleChange}
        placeholder="Search..."
      />
      <p>You're searching for: {query}</p>
    </div>
  );
}
That's called a controlled input, because React controls the input's value through state. Every keystroke updates state, which re-renders the component, which updates the value on screen. Round and round it goes.
Preventing Default Behavior#
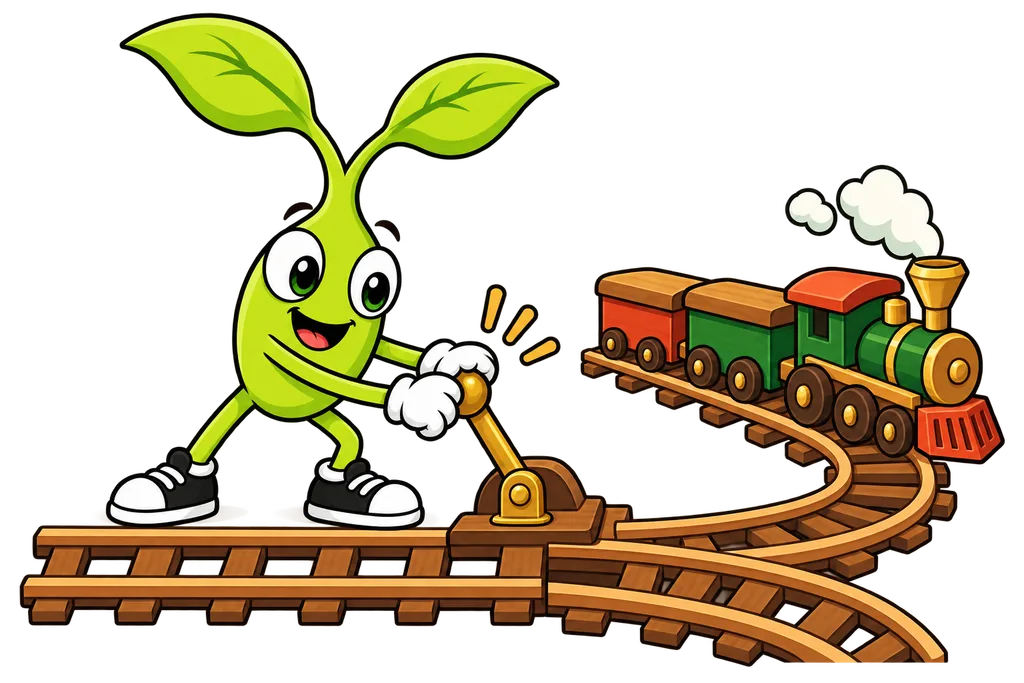
Browsers have built-in behaviors for certain events. Forms reload the page when you submit them, and links navigate you away. Use event.preventDefault() to stop those defaults in their tracks.
function LoginForm() {
  const [email, setEmail] = useState('');

  function handleSubmit(event) {
    event.preventDefault(); // Stop page reload!
    console.log('Submitting:', email);
    // Send data to your API instead
  }

  return (
    <form onSubmit={handleSubmit}>
      <input
        type="email"
        value={email}
        onChange={e => setEmail(e.target.value)}
      />
      <button type="submit">Log In</button>
    </form>
  );
}Passing Arguments to Handlers#
Sometimes your handler needs a bit of extra info. The move is to wrap the handler in an arrow function.
function FruitList() {
  const fruits = ['Apple', 'Banana', 'Cherry'];

  function handleSelect(fruit) {
    alert(`You selected: ${fruit}`);
  }

  return (
    <ul>
      {fruits.map(fruit => (
        <li key={fruit}>
          <button onClick={() => handleSelect(fruit)}>
            {fruit}
          </button>
        </li>
      ))}
    </ul>
  );
}
The arrow function () => handleSelect(fruit) creates a brand new function for each item, and each one remembers which fruit to pass along.
Handling Multiple Inputs#
When a form has a bunch of fields, you can get away with one handler by using the input's name attribute.
function ProfileForm() {
  const [formData, setFormData] = useState({
    name: '',
    email: '',
    bio: ''
  });

  function handleChange(event) {
    const { name, value } = event.target;
    setFormData(prev => ({ ...prev, [name]: value }));
  }

  return (
    <form>
      <input name="name" value={formData.name} onChange={handleChange} />
      <input name="email" value={formData.email} onChange={handleChange} />
      <textarea name="bio" value={formData.bio} onChange={handleChange} />
    </form>
  );
}
The computed property [name]: value sets the right field based on whichever input fired the event. One handler, all three fields handled.
TL;DR#
- Event handlers are functions you pass to JSX elements through camelCase props (
onClick,onChange,onSubmit) - Pass the function reference (
handleClick), and don't call it (handleClick()) - The event object gives you details like
event.target.valueandevent.key - Use
event.preventDefault()to stop default browser behaviors (like a form reloading the page) - Controlled inputs pair
valuefrom state withonChangeto track what people type - Wrap handlers in arrow functions when you need to pass extra arguments
What's Next?#
You know how to handle events inside a single component now. But what happens when a child component needs to tell its parent that something happened? Next lesson is Props and Data Flow, all about passing data down and sending events back up the component tree...
This lesson ends with a short activity.